
There’s something lovely about whipping up a batch of cookies at home. I think maybe it’s the smell that gets me. That sweet smell of chocolate, oats and golden syrup wafting from the kitchen is just so comforting and oh so inviting.
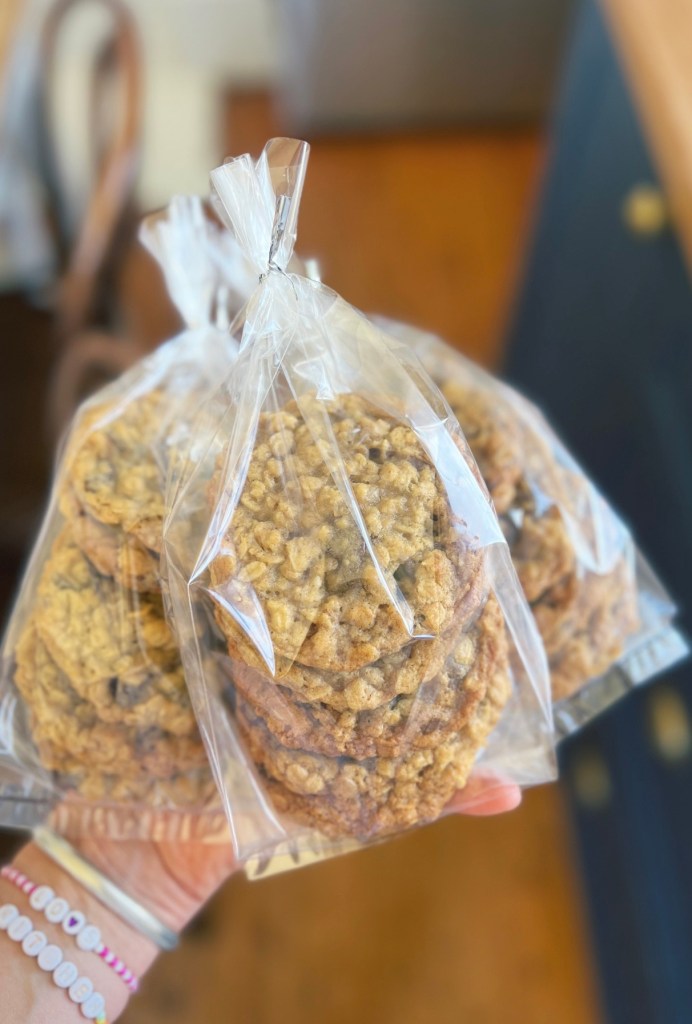
This recipe makes a large batch of cookies and packaged up in some clear treat bags makes for a beautiful gift. They’re soft and chewy, sweet but not too sweet, and really easy to make. Master the perfect homemade chocolate chip cookie and it’ll give you all those domestic goddess feels.
And to help you reach that status, I’m giving you some of my tips below.
Lo’s tips for making the perfect chocolate chip cookies
- Use an ice cream scoop to ensure equal amounts of mixture per cookie. Dust this with some plain flour so that the cookie dough doesn’t stick.
- Get to know your oven. Everyone’s oven will run differently. Some are hotter than others on the top shelf as opposed to the bottom and some will cook more evenly than others (for example, the cookies at the back will cook faster than at the front).
- I line my baking trays with baking paper, using scissors to cut the paper so that it fits flat and snugly on the tray. I also add a couple of drops of water between the baking paper and the tray so that it doesn’t slide around.
- I like the way these cookies are nice and soft so I only cook them for 10 minutes, undercooking them slightly. I let them cool on the tray first because they will break up if you try and pick them up straight away. I then transfer them to a wire cooling rack to cool completely. If you think they need longer in your oven (as 10 minutes can be a little underdone) then give them a couple more minutes.
- If you make this cookie dough and pop it in the fridge to set before rolling out – the cookies won’t spread out as much in the oven as the butter will be cooler. Cold butter equals less spreading in the oven.
- Make sure you store these cookies carefully – they have to be stored in an airtight container to ensure freshness. They also freeze really well if you want to add them to your kids’ lunchboxes. Full disclosure though – my girls prefer “Everybody’s favourite chocolate cookies” as they don’t go ga-ga over the oats and sultanas (all apart from Ev that is).


soft + chewy chocolate chip, oat + sultana cookies
Makes 30 cookies
1 1/2 cups of plain flour
1 x teaspoon of bi-carb soda
1 x scant teaspoon of salt
1 x teaspoon of cinnamon
225 grams of unsalted butter, softened
1 x cup of brown sugar, tightly packed
1/2 cup of white sugar
2 x eggs
2 x teaspoons of vanilla extract
1 x generous tablespoon of golden syrup
3 x cups of oats
200 grams of dark chocolate chips
1 x cup of sultanas
- Preheat your oven to a moderate 180 degrees℃ (mine is fan forced) and line 2 x large baking trays with baking paper.
- Add the flour, bi-carb soda, salt and cinnamon to a bowl and stir together with a fork. Set aside.
- In the large bowl of a stand mixer (or using hand held beaters) cream the butter and sugars together until nicely paled and creamy (scraping down the sides of the bowl with the spatula as you go).
- Add the eggs, vanilla and golden syrup and mix on a medium speed until just combined.
- Add the oats, chocolate chips and sultanas and mix on a low-ish speed until just combined.
- Using an ice cream scoop (so that you get the cookies all the same size which will not only look better, but means the cookies will cook evenly) take the mixture and roll into balls with your hands (a tip here is to dip the ice cream scoop and your hands in a bit of plain flour so that the mixture doesn’t stick, as it’s quite a “wet” mixture).
- Place the balls of dough onto the prepared baking trays, leaving a lot of room between each cookie (as they will spread a lot during the cooking process). I fit six cookies to one tray.
- Bake the cookies in batches for 10 minutes, keeping a close eye on them so that you don’t burn them. If they’re a little under done, give them a minute or so more.
- Let them cool on the tray for a couple of minutes before transferring to a wire rack to cool.
- Once completely cooled, store carefully in an airtight container.
I’d love to know what you think of this recipe. Please feel free to comment below. xx
